Windows XP 上麦克风的配置
Updated 4月 30, 2020
以下是在Windows XP上,如何设置麦克风:
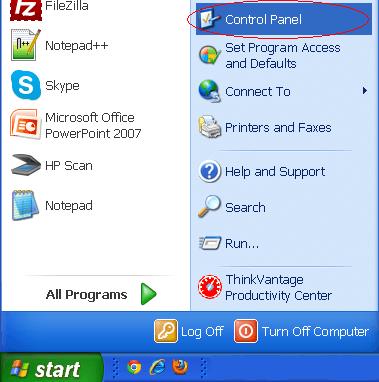
第一步: 点击在Windows开始菜单里的控制面板 .
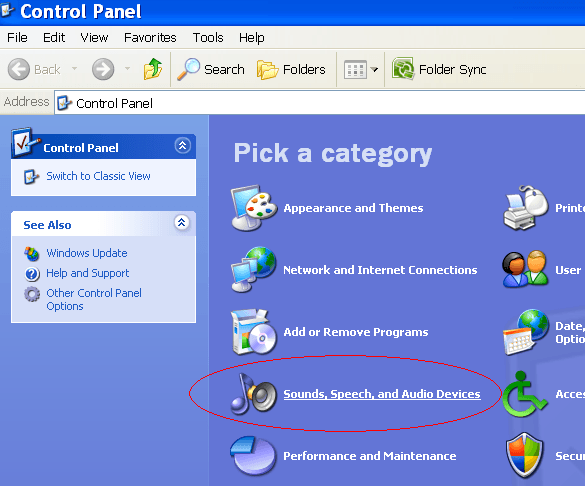
第二步: 点击“声音、语音和音频设备”
第三步: 点击“声音和音频设备”

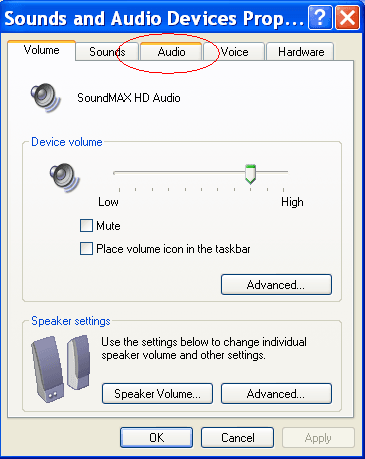
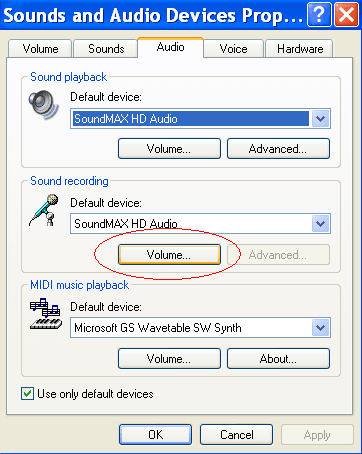
第四步: 点击“音频”选项卡
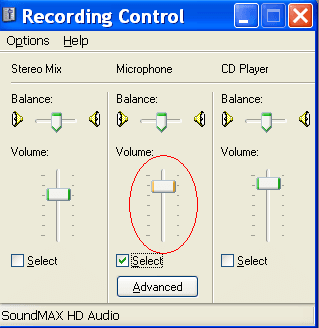
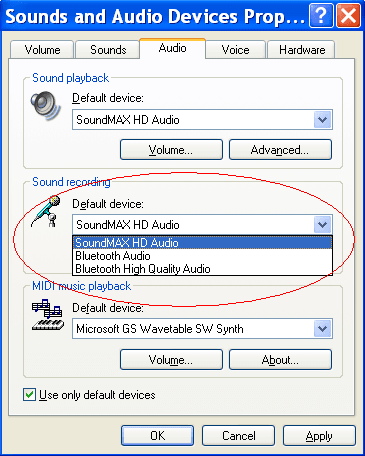
第五步: 点击录音栏里的“音量”
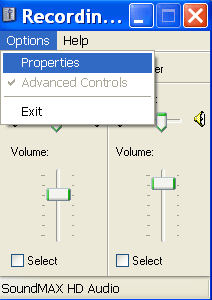
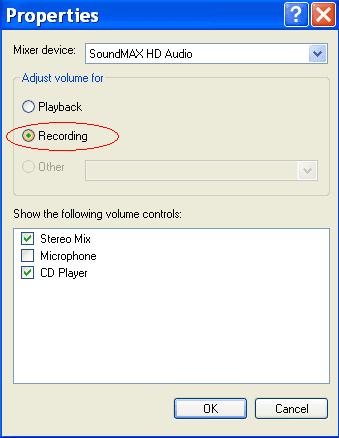
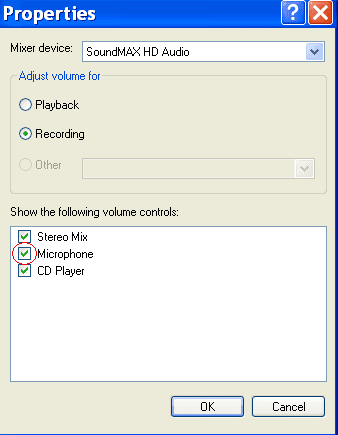
第六步: 确保勾选了“麦克风”下面的“选择”复选框。( 如果您在此窗口下没看见“麦克风”这几个字怎么办? ).
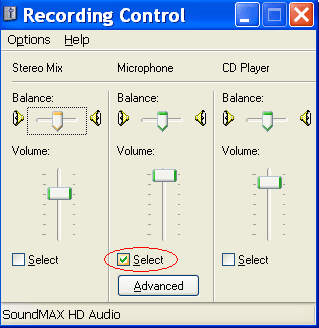
第七步: 在同一个窗口中,检查麦克风的音量是否是调高的(不用调到最高,尽管这样也不会有坏处。)